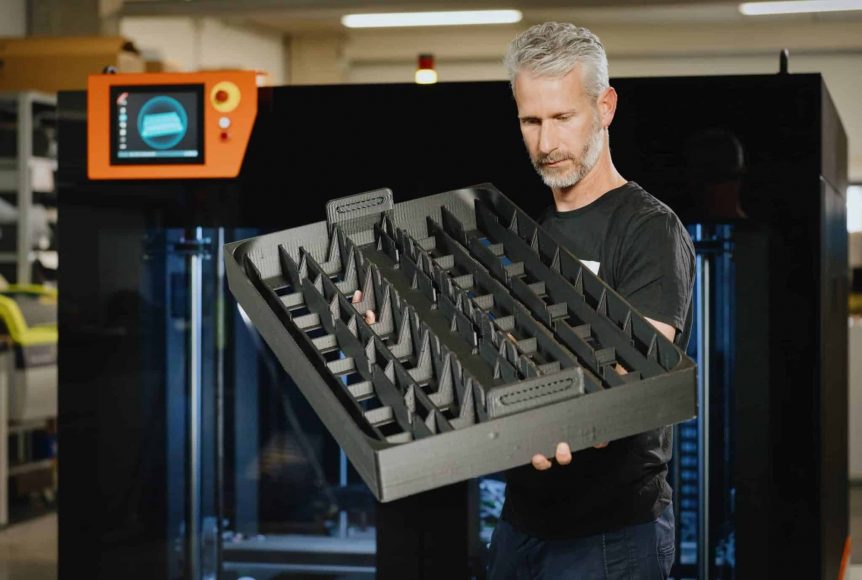
There are endless possibilities for designing custom and innovative solutions in the world of 3D printing. While 3D printing remains one of the most lucrative techniques among hobbyists and those who want to optimize their DIY projects, the benefits of Additive Manufacturing expand exponentially at an industrial scale.
Besides low-cost manufacturing and freedom of design, additive manufacturing offers low-cost customization, faster turnaround times, less material waste, and various solutions to avoid complicated logistics of supply chains. However, it is essential to remember that not all designs are a match made in heaven for Additive Manufacturing. With that in mind, let us look at some of the best DfAM practices to help you get the most out of your printer.
What is Design for Additive Manufacturing?
Additive Manufacturing is a process in which the final part is created layer-by-layer using materials like filaments, resin, or plastic. It is the opposite of subtractive manufacturing, in which the final product is made by cutting away at a block of material. DfAM encompasses the art, science, and skill behind designing parts using 3D printers.
This technique has unique requirements and differs from conventional injection molding and casting methods. The most significant difference between DfAM and traditional designs is that DfAM relies on principles that allow designers to take maximum advantage of 3D printing technology.
Best DfAM Practices to Produce Quality Parts
Wall Thickness and Layer Height
The minimum thickness of the part’s walls – made of perimeters – must be larger than the diameter of the nozzle by a factor of 1.2. Overall, geometry plays a crucial role in 3D printing, so it is best to use thicker walls with a higher wall line count if you print a functional object. On the other hand, layer height refers to the thickness of each layer. Layer heights are typically kept low when precise printing, whereas larger heights, are best suited for faster printing.
Supports
Support structures are temporary structures that ensure parts do not collapse during printing. They are removed once the printing process has concluded. Depending on the geometry and material of the part, the need for support structures varies. As a rule of thumb, any piece with an angle of 50 degrees or less does not need support structures.
Minimum Width or Height
Every 3D printer has limitations on precisely printing sharp corners, holes, and cutouts. No matter the feature’s orientation, the final output is determined by the 3D printing technology used for manufacturing. If you are working with sharp corners, it is best to chamfer or fillet them to reduce stress. Doing so will help disperse the shrinking forces so sharp edges can be printed precisely.
Overhangs
Overhangs are unsupported geometrical structures that extend beyond the previous layer. If they are too steep – more than 50 degrees – there is a chance that they may collapse without a supporting structure. When designing for additive manufacturing, it is best to position the parts within maximum overhang angles to achieve superior results.
Orientation
Parameters like orientation allow you to increase the part’s strength, reduce the time taken to print, improve surface quality, and reduce the need for supporting structures. For best results, the design should be oriented such that the layers are at right angles to the direction of the force applied to the part. Orientation of the part can impact the overall time taken to print and the surface quality. By avoiding support structures, you can achieve higher surface quality.
DfAM is an evolving set of rules for efficient 3D printing and achieving consistent results, and it is particularly vital on an industrial scale. In many cases, DfAM plays a significant role in deciding the aesthetics of printed parts. To learn more about this technology, contact Scale Up 3D today!